If you’ve been making textile art for a while, chances are you’ve heard (or used) a wonderfully low‑tech trick: treating cotton fabric with hair conditioner before running it through a domestic inkjet printer. It sounds improbable, but for many artists — particularly in Australia and New Zealand — it genuinely worked.
Before commercially prepared inkjet fabrics were readily available, textile artists shared studio wisdom, tested household products, and adapted whatever tools they had on hand. This post looks at what those treatments were, why they worked, and what the modern options are today — so you can decide what suits your practice now.
Why treat fabric before inkjet printing?
Domestic inkjet printers are designed for paper, not fabric. Untreated cotton is:
- Highly absorbent
- Textured and flexible
- Prone to ink bleeding and dull colour
Pre‑treating fabric aims to:
- Help ink sit closer to the surface of the fibre
- Improve colour density and sharpness
- Reduce feathering and bleeding
- Stiffen fabric slightly so it feeds through the printer smoothly
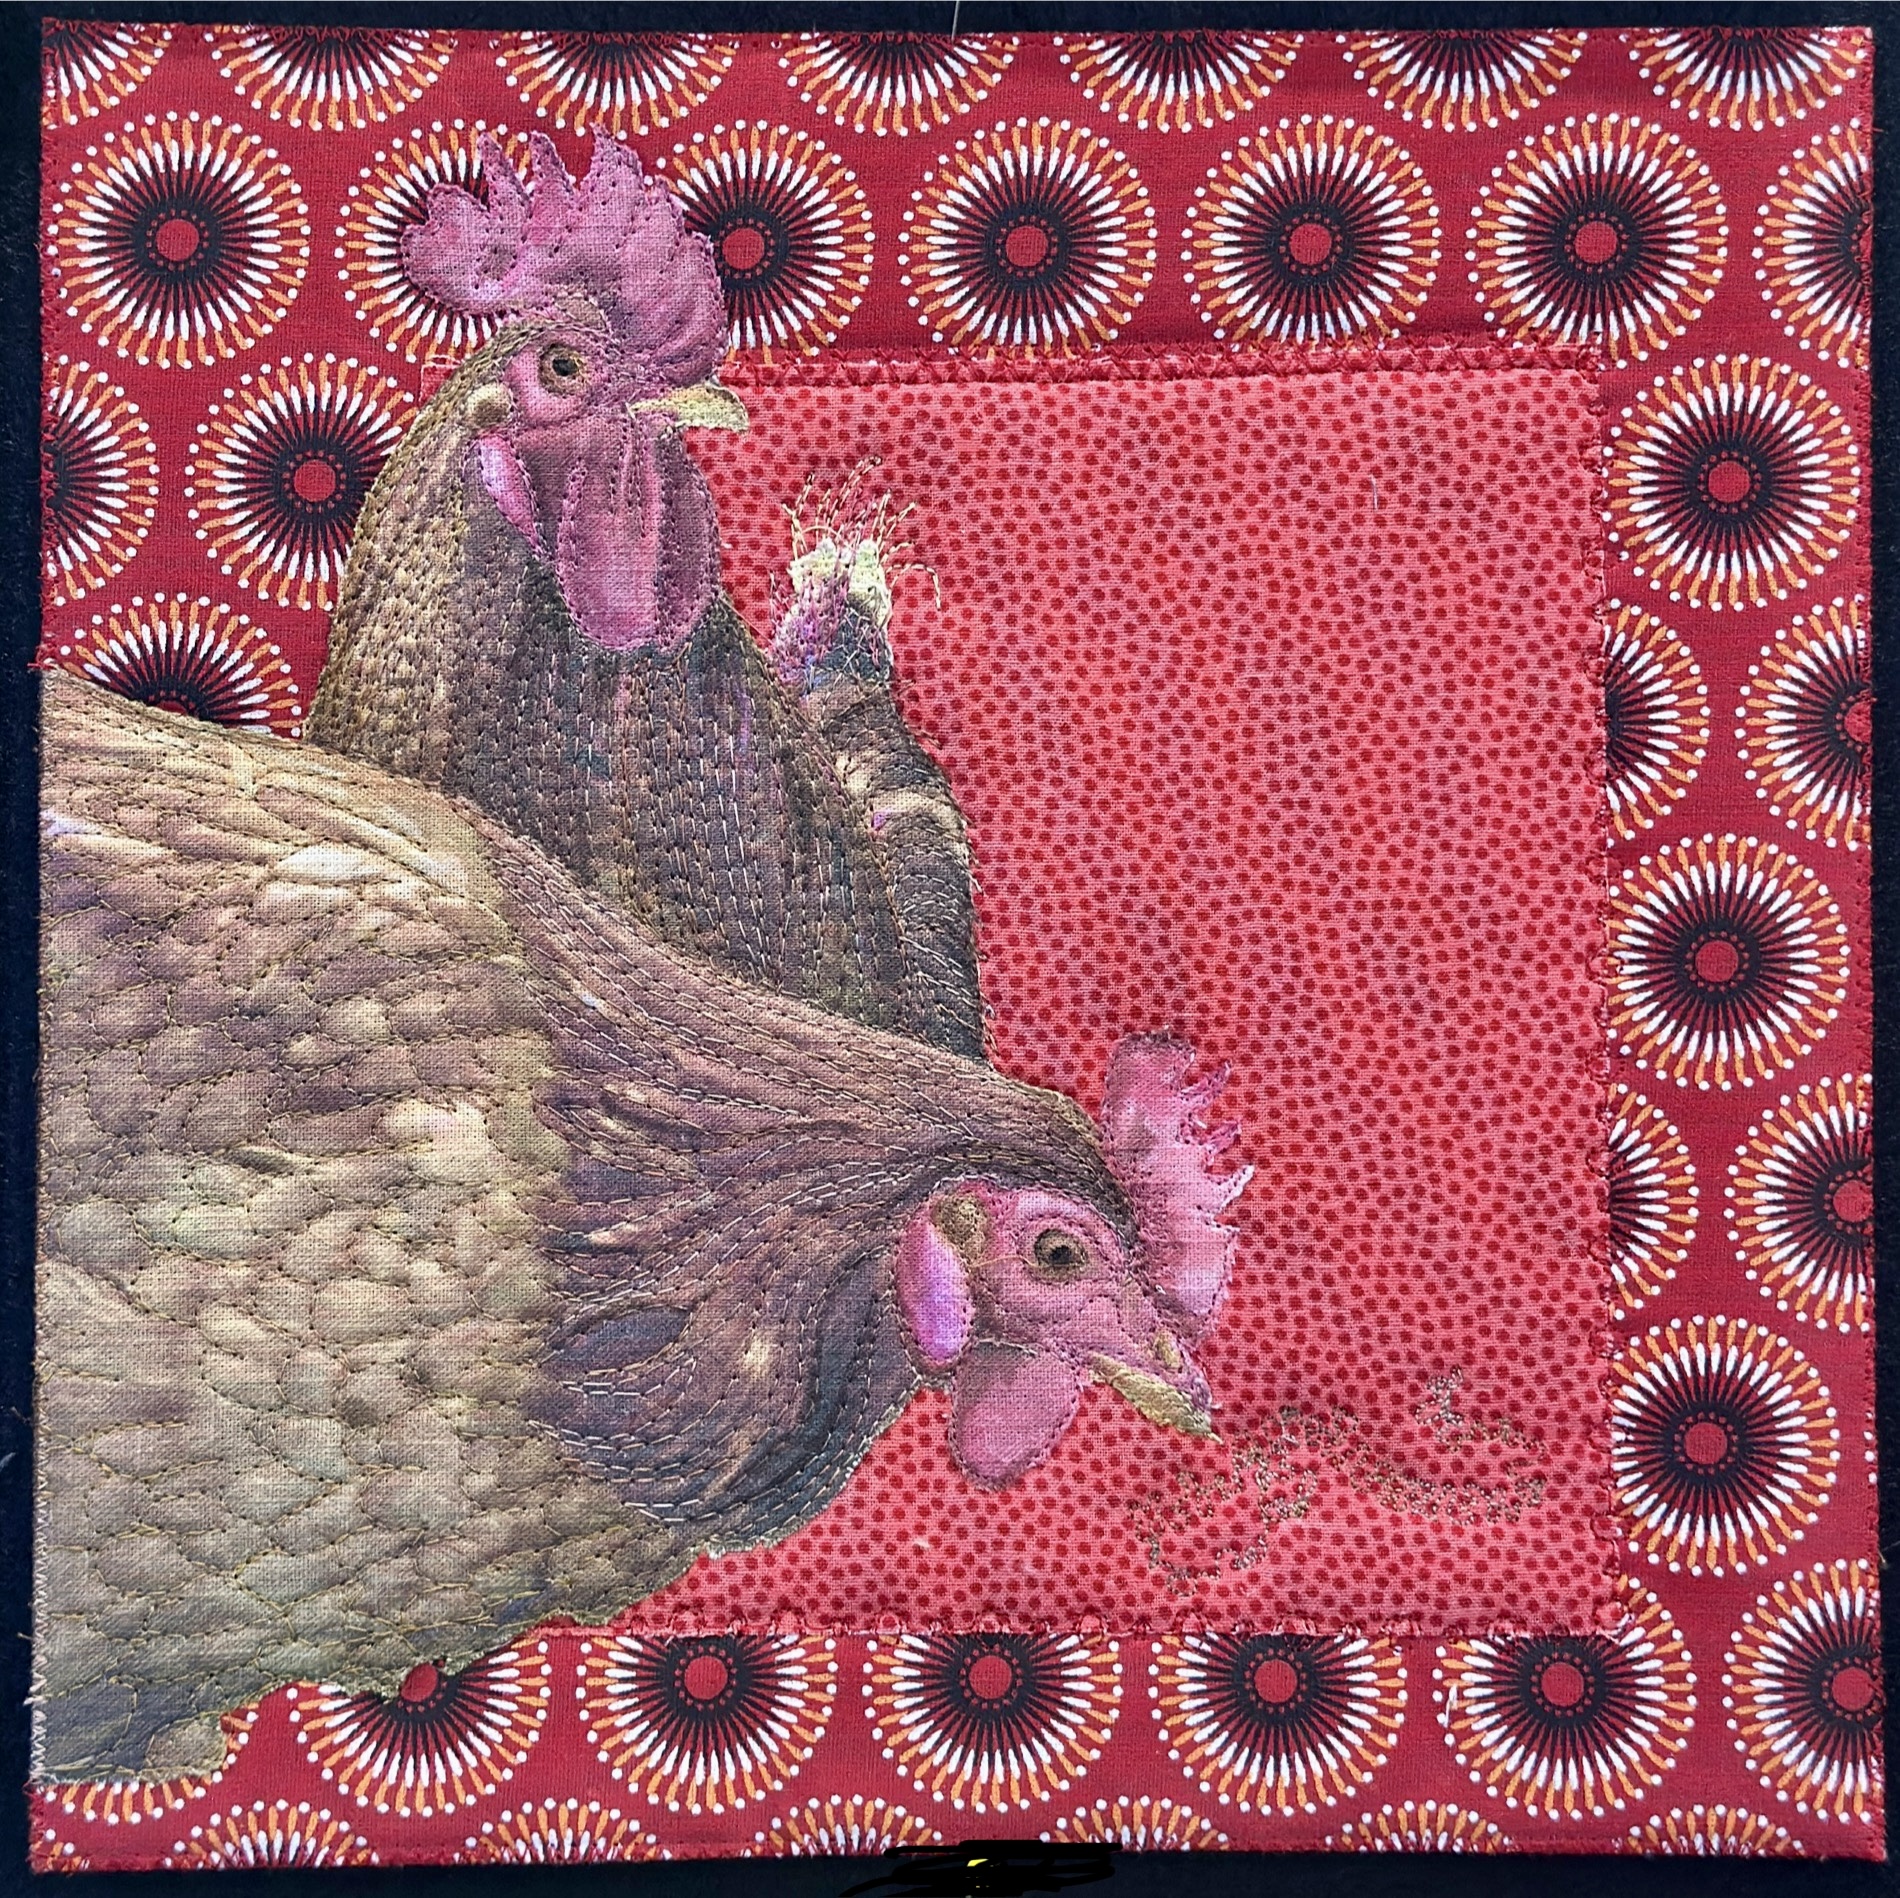
Chooks printed on fabric treated with hair conditioner. artist Brenda Wood. Created from multiple photos available on Unsplash
The hair conditioner method (the classic artist workaround)
What artists actually used
Despite sometimes being remembered as fabric conditioner, most artists eventually settled on hair conditioner — usually inexpensive, silicone‑free varieties.
Hair conditioner contains cationic surfactants (positively charged molecules). Inkjet inks are anionic (negatively charged). This opposite‑charge attraction helps ink bond more readily to the cotton fibres.
It also leaves a subtle coating on the fabric, which:
- Improves ink hold
- Slightly stiffens the cloth
- Makes the fabric behave more like paper
A typical studio recipe (varied widely)
There was never a single “correct” formula, but a common approach was:
- 1 tablespoon hair conditioner
- 1–2 cups warm water
- Soak fabric for 5–10 minutes
- Gently squeeze out excess (don’t wring)
- Air dry completely
- Press flat before printing
Some artists rinsed lightly, others didn’t. Results varied — but many found it surprisingly effective.
What about vinegar?
Vinegar often appears in these memories, but its role is frequently misunderstood.
- Vinegar does not help inkjet ink bind to fabric on its own
- It does not fix pigment or dye‑based ink
Where it may have been used:
- As a light rinse to remove excess conditioner
- Confused with dye‑setting advice
- Part of general fabric prep folklore
If vinegar was involved, it was almost certainly secondary, not the main treatment.
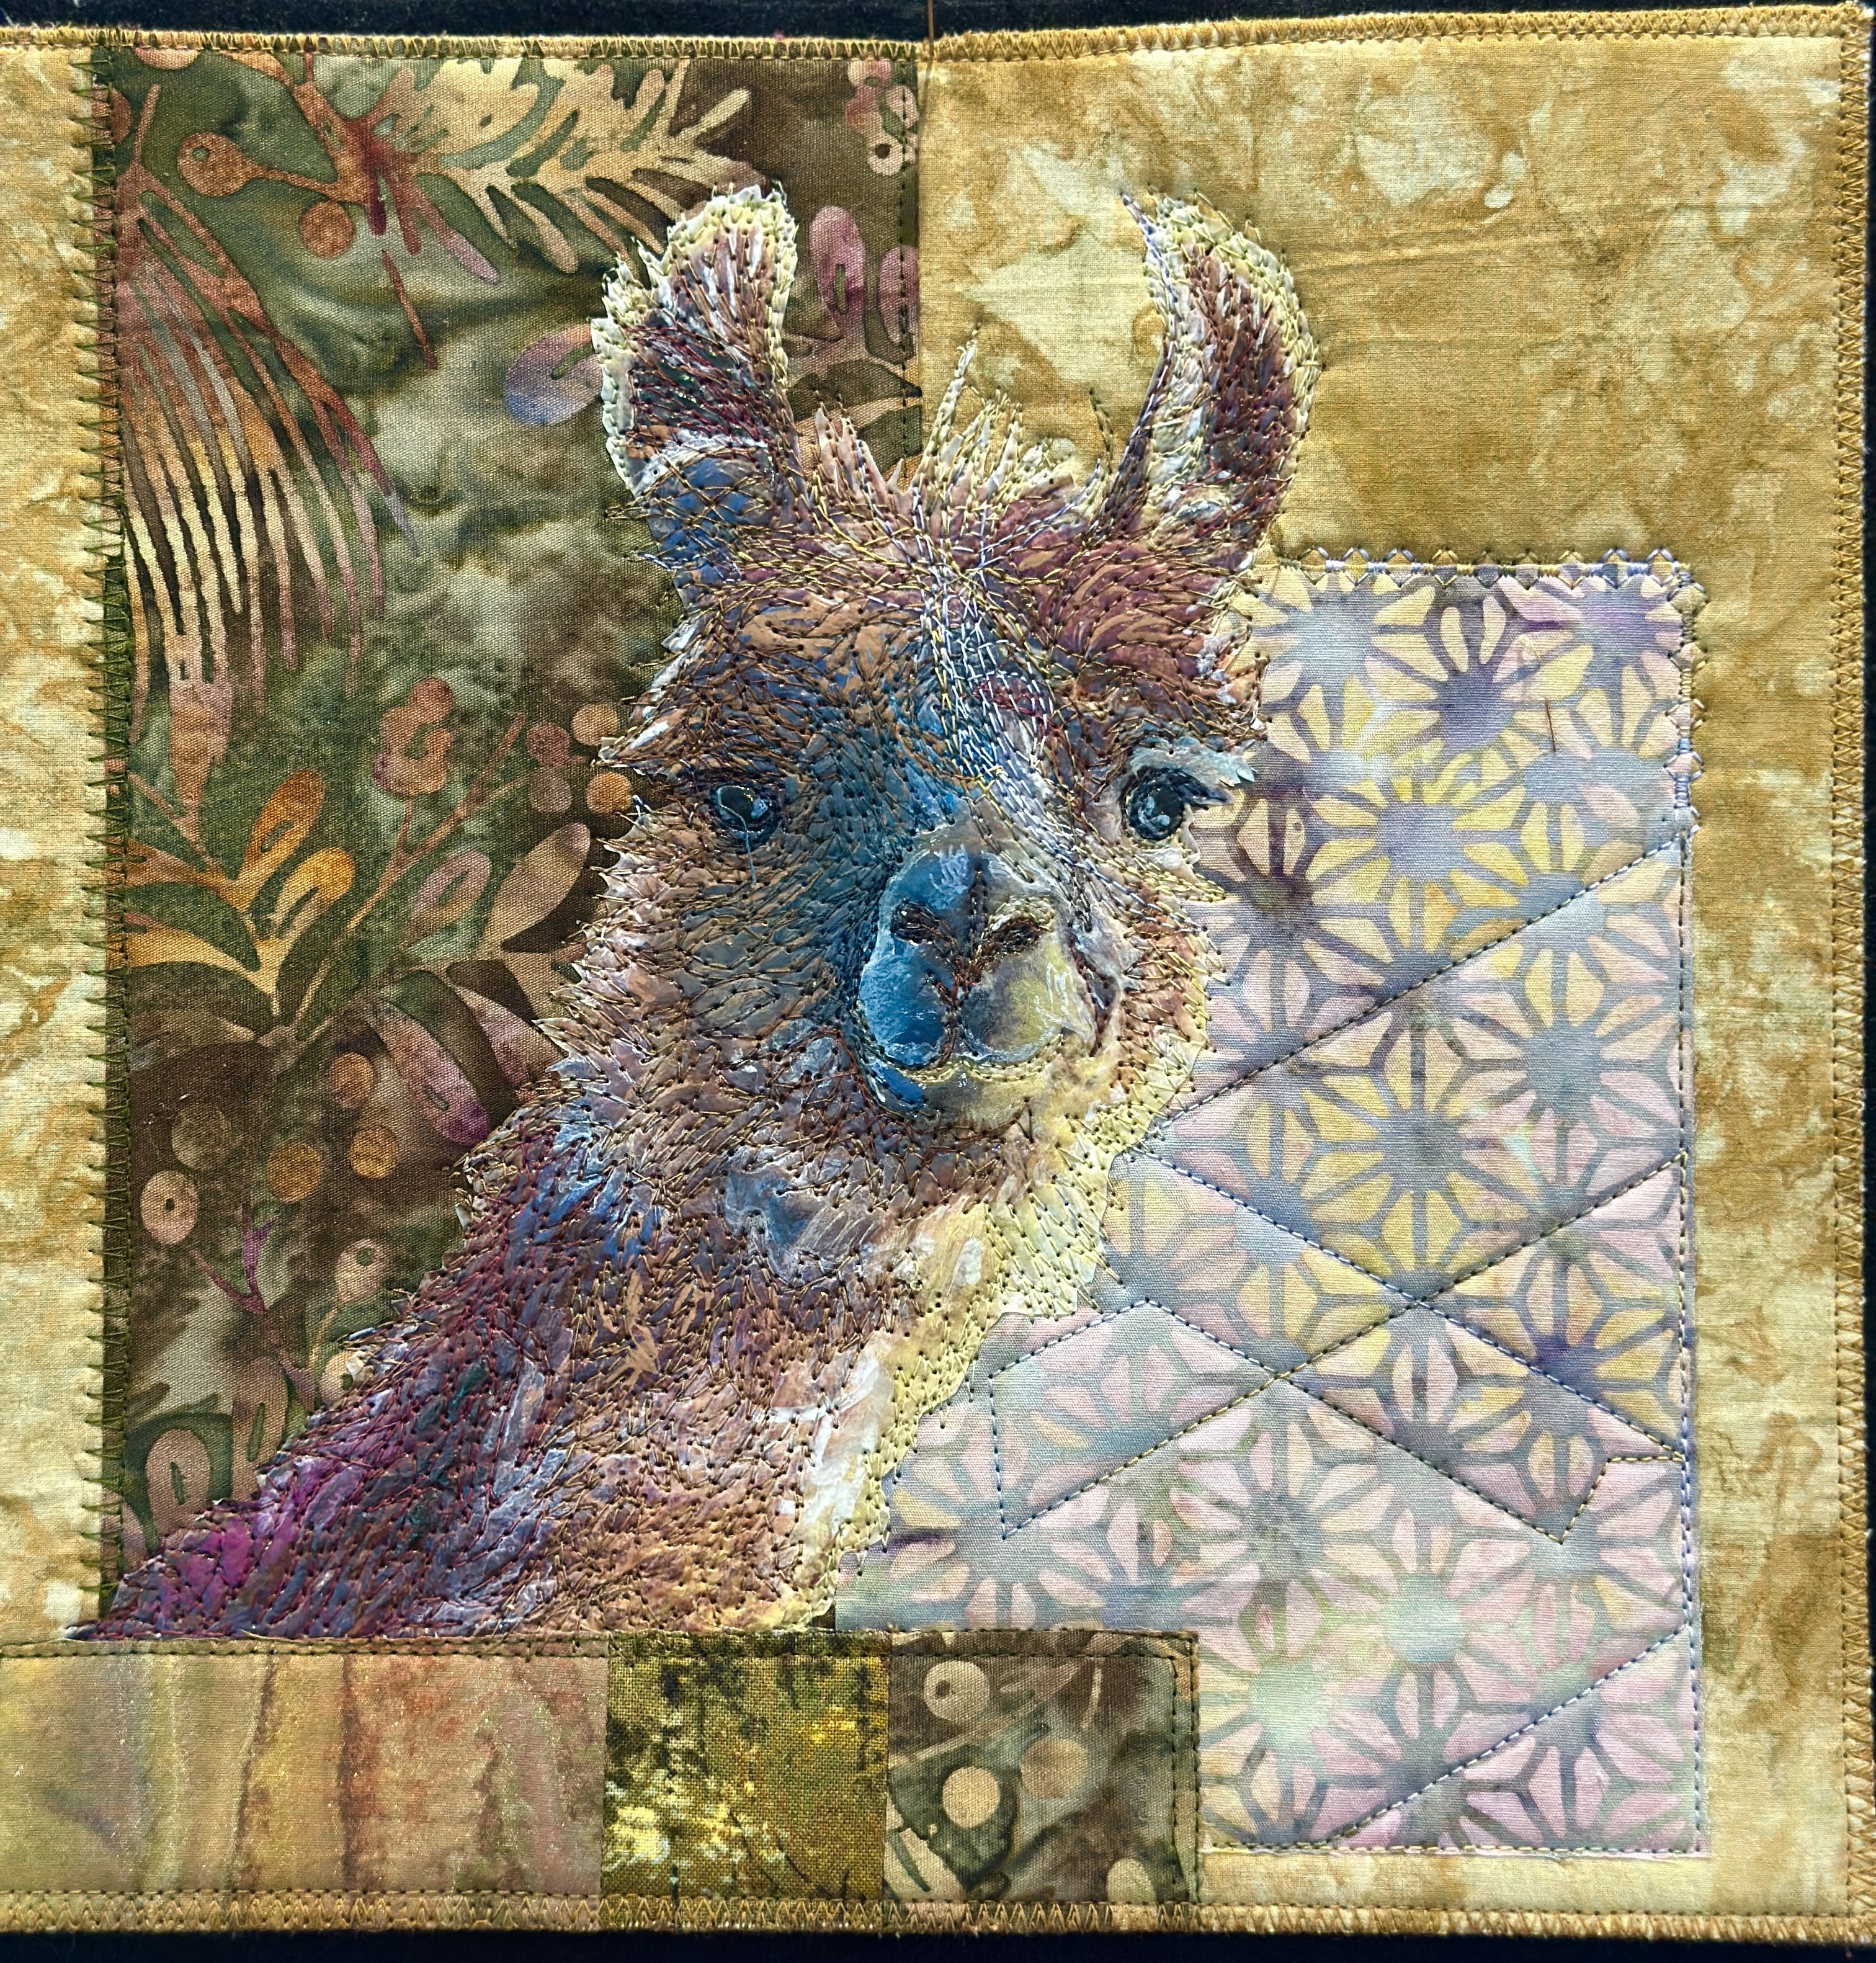
Cow image printed on domestic printer using Hair conditioner as a fabric treatment.
photo from Unsplash – artist Brenda Wood
Fabric conditioner (laundry softener): why it fell out of favour
Some early experiments used diluted laundry fabric softener, but many artists abandoned it because:
- It often contains silicones
- Optical brighteners can interfere with colour
- Residue may affect printers over time
Results were inconsistent, and hair conditioner proved more reliable.
Other DIY treatments artists used
Gelatin sizing
A long‑standing fine art technique adapted for fabric printing.
Why it works:
- Creates a surface coating
- Improves sharpness
- Reduces ink spread
Downsides:
- More time‑consuming
- Can crack if over‑applied
- Less forgiving for repeated washing
Starch or PVA (used cautiously)
Occasionally experimented with, but:
- Risk of stiffness
- Can cause printer feed issues
- Not recommended for modern printers
Modern commercial options (far more predictable)
Today, artists have access to purpose‑made products that outperform DIY methods in consistency and longevity.
Inkjet‑prepared fabrics
Brands such as:
- EQ Printables
- Jacquard Inkjet Fabric
- June Tailor
These fabrics are:
- Pre‑treated for ink adhesion
- Backed with paper for easy feeding
- Designed for domestic printers
Fabric pre‑treatment liquids
Products designed to be brushed or soaked onto fabric before printing:
- Bubble Jet Set (by C. Jenkins)
- Jacquard Inkjet Fabric Pretreatment
Advantages:
- Reliable colour density
- Better washfastness
- Clear instructions for modern inks
Ink matters: pigment vs dye‑based
Your printer ink makes a difference.
- Dye‑based inks (older printers):
- Brighter initially
- Less washfast
- Pigment inks (most modern printers):
- Better longevity
- Slightly duller but more stable
- Benefit greatly from proper pretreatment
Always check your printer specifications before committing to a method.
So… does the conditioner method still have a place?
Yes — with caveats.
The hair conditioner method:
- Is inexpensive
- Can work beautifully for art quilts, collage, and stitching‑based work
- Is ideal for experimental or one‑off pieces
However, for:
- Work intended to be washed
- Items for sale
- Repeatable results
Commercial products are now the better choice.
A final thought
What matters most is not whether a method is “correct”, but whether it supports your creative intent. The conditioner trick is part of our shared textile knowledge — a reminder of how artists adapt, test, and innovate.
If you’ve ever printed fabric this way, you’re part of that lineage — and it’s still worth remembering how cleverly we made things work with what we had.
This was a not so successful image transfer, one useing a printed image coated with pva glue then the paper removed from the reverse via rubbing… this left the image colourless and shiny ….. I’ve added more colour back in..
after several different variations of this technique.. it quite frankly.. is not one I would ever persue again.
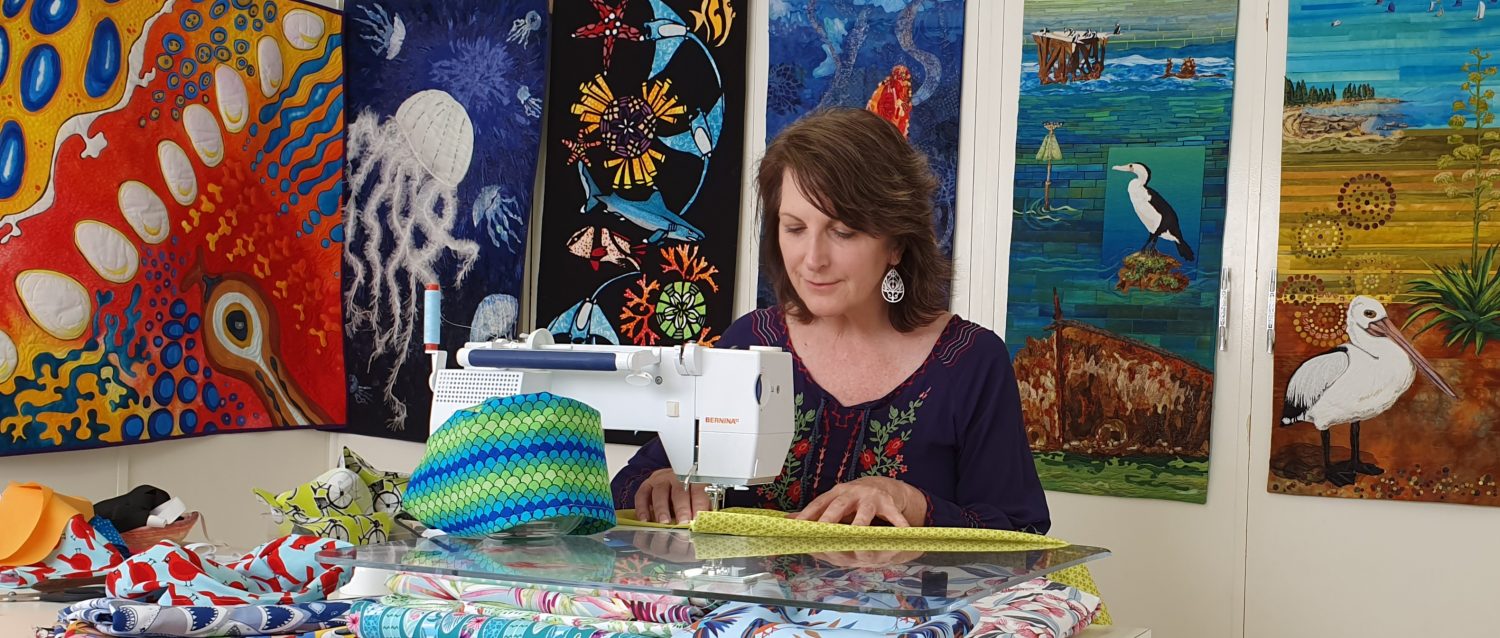
Artist – Brenda Wood